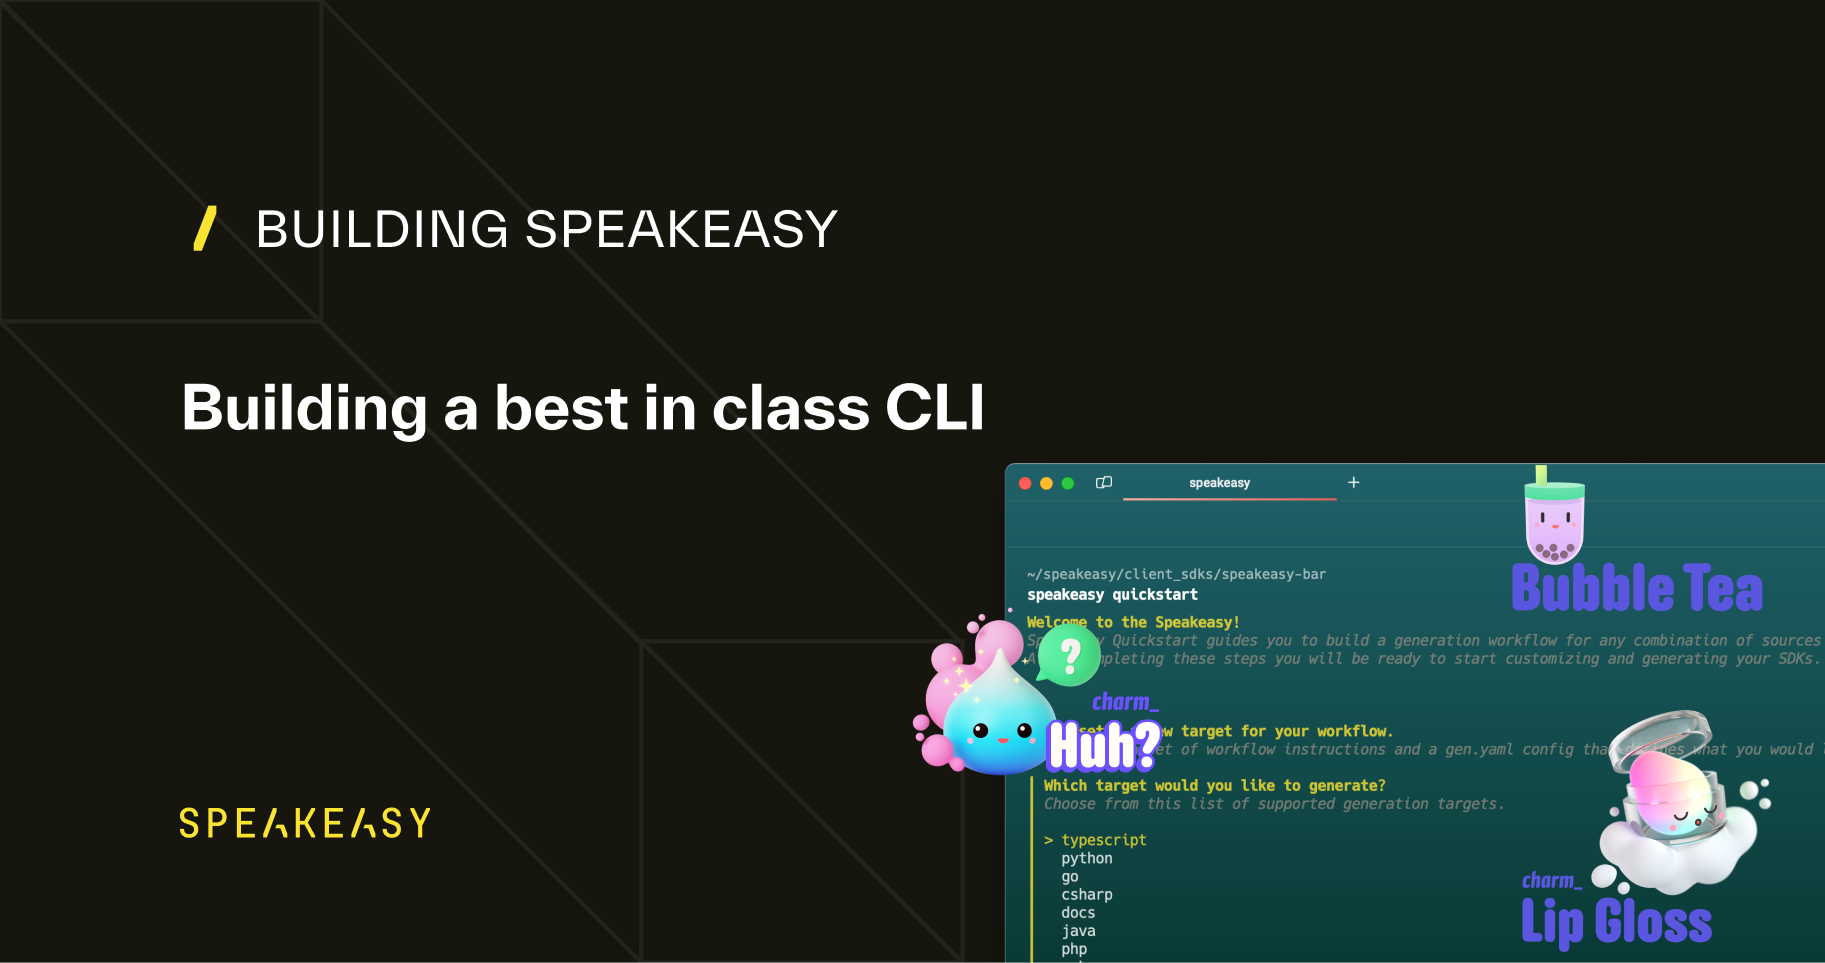
Building Speakeasy
Why and How we invested in building a best in class CLI
Chase Crumbaugh
February 14, 2024
Like many startups, the original product we worked on isn’t the one that ended up getting product-market fit. One of the side effects of our pivot is that our users were navigating a UX that had been patched in order to support the new core use case (SDK Creation). Not ideal.
To address the situation, we spent the last month focused on building a revamped CLI experience to establish the foundation for a new standardized SDK creation and management workflow. This is the first step in creating a DX (Developer Experience) that will eventually unify the creation of API artifacts locally, in production, or via the web.
In this article we’ll walk through our motivation for doing a v2, what principles guided the development process, and how we used Charm’s libraries (opens in a new tab) to implement a best-in-class CLI. We hope that this can be both an inspiration and guide to other teams considering similar projects.
Why did we rebuild our CLI?
The decision to focus the efforts of our onboarding rebuild on a new CLI was because of the nature of our product. Our product generates libraries, which are output as a set of files. We therefore wanted our DX to be as close to our user’s file management workflows as possible. The made focusing on CLI as the natural choice. Our focus on CLI isn’t a comment about the importance of traditional GUI-based UX. That too is an important part of DX, and one that we plan on tackling now that we’ve established a unified workflow.
Even if CLI isn’t quite as important as UI for your product, building your CLI first may still be a good idea. A CLI should be the core actions a user might take while using your product, with all the veneer stripped away. Building it is a forcing function to make sure you carefully consider and design the base set of commands, which you will later assemble into more complex workflows. It is a natural starting point.
As for the timing, the rebuild was triggered by two motivating forces:
- Need for new primitives: As mentioned, we needed a fresh new workflow design that was both optimized for our core use case: artifact creation from an OpenAPI spec, and flexible enough to keep pace with the company’s aggressive vision for the future.
- New tooling enables new possibilities: We became aware of Charm.sh (opens in a new tab) and their libraries to “make the command line glamorous.” in late 2023. The example apps on their website blew us away and had us playing with ideas we hadn’t thought previously possible. With such great tools available to us, there was no excuse for providing users with a mediocre CLI experience.
What were our principles?
For anyone who is building a CLI, we strongly recommend that they first read through the Command Line Interface Guidelines (opens in a new tab). Don’t take it as gospel, but it’s an incredibly useful guide authored by some of the folks who built docker compose. The advice may seem at times obvious, but often the best advice is 🙂
-
Assume no prior context - One of the consistently annoying things about CLIs is that they are often the functional equivalent of a set of magic incantations. Say it correctly, and you’re successful. Get it even a bit wrong, and no rabbit comes out of the hat. That means that before you can use a CLI functionally, you need to go and read through the instruction set and match it against your use case.
Our goal is for anyone to be able to install our CLI, enter
speakeasyand just by interacting with it, understand the full scope of what’s possible and how they should use it. No docs required. -
Make it Conversational - Maybe this will change, but at least for the time being, most CLI users are still human. And yet most CLIs don’t really cater to people. Most CLIs don’t provide any feedback when you’re using them and provide no information on common patterns you might want to follow. It’s a choose your own adventure.
There’s no reason it has to be this way. Our goal is for the CLI to provide a guided experience, alongside the rawer primitives.
- Include prompts as an alternative to flags for providing information.
- Provide suggestions when an input is incorrect.
- When an action is complete, we indicate the likely next action.
-
Keep it simple - When presenting users with a CLI’s commands, there’s often a well-intentioned desire to exhaustively describe everything that’s possible. That typically backfires and what’s important gets lost.
To combat bloat, we adhere to a few rules:
- Avoid deep nesting of commands wherever possible.
- Use sensible defaults rather than asking the user for information.
The sum total of these rules was the creation of a compact and easily grok-able CLI that someone could understand and use without having any previous understanding of Speakeasy.
Armed with our design philosophy we set out to build our CLI.
Why and How Did we Use Charm?
It worth stating that we’re in no way being sponsored by Charm (opens in a new tab) to write this section of our blog post. But if anyone is looking to build a CLI, there is really no substitute for the tooling developed by the Charm team. We’re a Go shop, so there was no learning curve, but even if you’re not, it’s probably worth learning Go just so that you can build on top of their libraries.
The best analogy for explaining the value of Charm is that it’s like React for Terminal UI. It makes it possible to build beautiful user experiences at a fraction of the cost. To build our new CLI we made use of several of Charm’s libraries which we’ll walkthrough in more detail.
Bubble Tea to build our foundation
In the React analogy, Bubble Tea (opens in a new tab) is the equivalent of the components framework. We used Bubble Tea as the framework for defining our Terminal application. Some of the more sophisticated aspect of the CLI were built as custom components. For example, our Validation table:
Bubble tea makes it possible to easily create delightful experiences that users don’t associate with the Terminal.
Lip Gloss for custom styling
Lip Gloss (opens in a new tab) is the equivalent of custom CSS. The custom coloring, text formatting, and selection highlighting in our CLI is all being controlled by our Lip Gloss rules. In particular we make heavy use of Adaptive colors, which ensure that the CLI looks good no matter what our user’s terminal theme is.
Is it critical to the functioning of the CLI? No. But it’s those nice small touches that make the CLI into something that is recognizable as a Speakeasy experience:
Using Huh to build Quickstart
Huh (opens in a new tab) is Charm’s latest & greatest library (released December 2023). It is a form builder for terminals. Despite being so new, we jumped on the opportunity to use it. It was a perfect fit foundation for our speakeasy quickstart experience. If you agree that CLI experiences should resemble a conversation, then providing users with prompts to keep them moving through the workflow is critically important. We’ve built our quickstart command to wrap our other command primitives (configure & run) to give users a fully guided onboarding experience,
What’s Next
Rebooting our CLI was the first step of a complete overhaul to our onboarding workflow. We’re now working on two related projects to complete the end to end workflow. 1) Moving our Github action (opens in a new tab) to use the new CLI primitives, for a single source of truth. 2) Creating a sync with Github so that users can easily iterate on their production SDKs.
Have ideas on what we should build next? Have thoughts on the new CLI experience? We’d love to hear them, please feel free to join our public slack (opens in a new tab) and let us know what you think.